
Easy Street
The easiest way to repair a garage door panel … is to call an expert to undertake the project. Wasn’t that helpful?
Alternative Route
Now assuming that option isn’t available to you because money is tight or there are no garage door repair experts in your area or maybe you just want the experience to add to your list of handyman/woman/other endeavors. Now I’m assuming you’ll be repairing the rotted garage door panel yourself. Since you’ve read this far, let’s start with what you’re going to need before we head out to the garage. Unless of course, your tools are in the garage. In that case, head to the garage now.
What You’ll Need
Most of the tools needed to do this are basic tools you should have in your arsenal: 2 pairs of vice grips, a ratchet (or impact drill to speed up the process), and the various sizes of sockets for whatever size the fasteners on your hinges are (usually 1/4″). This task can also be done with the same size wrench if you lack a socket set. Now the one “specialty” tool you will need for this is a come along a with wire-puller. These are sold at most hardware stores so shouldn’t be hard to find if you don’t already have one.
Pro Tip: Take a look at your torsion springs above the garage door. If they look old, rusted, and ready to bust, go ahead and replace those while you’re working in the garage. Not only is this good preventative maintenance but it also eliminates any need for the come along as all the tension will be removed from the cable while the springs are off. Handle torsion spring with EXTREME CAUTION. Failure to do so can result in serious injury.
Getting Off The Ground
Now that we’ve gathered our necessary tools we’re ready to get started.
First, detach the door from the motor if applicable for raising your door off the ground. You’re going to want to come up at least 3 or 4 inches but can come as high up as you want to be at a comfortable height for removing whichever panel it is that needs replacing. To hold the door in place you’ll need to clamp the vice grips to the track with the handles turned in, under one of the hinges on both sides. Don’t clamp the vice grips under the panel you plan to remove as they could end up in the way of removal, and believe me you don’t want to fry that fish once the come-along is attached. You’ll have to undo everything you’ve done up to that point, move the vice grips, and start over.
Take A Load Off
Once your door is suspended by the vice grips, we’re going to need to take the tension off of the door; otherwise, when we remove the hinges from our panel the door could become a hazard. To relieve the tension you need to attach your cable-puller to the cable on either side of the door, doesn’t matter which, just whichever you prefer.
Attach the cable-puller relatively high to allow some space for the come-along to work. Once your cable-puller is securely attached, hook the other end of the come-along to the lower bracket that mounts the track to the wall. After both ends of the come-along are secured to their respective apparatus, crank the come-along until the line is taut and the panels separate ever so slightly.
Screw It … Actually, Unscrew It
Now that our door is up off the ground and torsionless, we’re going to take our ratchet, impact drill, or wrenches, and remove the fasteners from the top hinges of our rotted panel that we wish to remove. I recommend doing the sides first and working into the middle. Once we do this the panels should separate some more and then we’ll remove our bottom hinges in the same fashion. After we’ve completely freed our rotted panel of hinges, we may need to crank the come along for a little more room to wiggle the panel out then voila chuck it in the trash.
Now What?
You did already get the new panel… right? If not I suggest you get the old one back out of the trash unless you like wild pest ravaging through your garage. Now that you’ve got the old panel back out (or hopefully the new one) we’ll just go through that same process in reverse.
Attach the rollers to the new panel, if applicable, and place it in the gaping hole in your door. Now screw the bottom hinges into the pilot holes on the panel, then relieve some tension from the come along and do the same to the top hinges
After you’ve screwed all the hinges go ahead and relieve all the tension from the come along and remove it from the bracket, then the cable. Once that’s off you can go ahead and take unclamp the vice grips from the tracks and re-attach the motor to the door if you should need to do so, and bing bang boom, you’ve got a fully functional, hopefully more attractive, garage door.
Always test the door to make sure everything is still working properly and if it is give yourself a big pat on the back and grab a cold one out of the fridge. You’ve earned it, my friend.
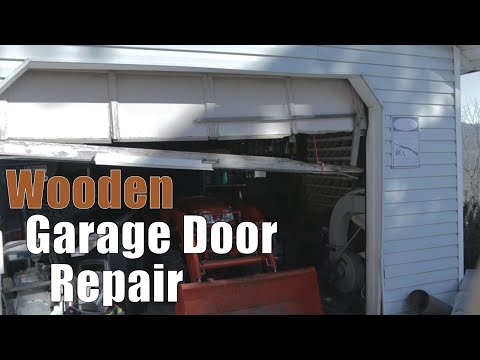
I hope this article was sufficient in helping you through this project. However, if you require additional guidance, numerous YouTube videos show step by step, how to repair a rotted garage door panel. I urge you to check those out and if you’re still not confident with the task I strongly suggest hiring an expert.
Garage door repairs can be dangerous but also relatively inexpensive as it is a very quick and easy process for a trained professional with the proper tools.
P.S. If you do decide to go this route I’m sure they wouldn’t mind an audience, especially if you bring them out a nice cold glass of iced tea. Good luck!
