Preparation:
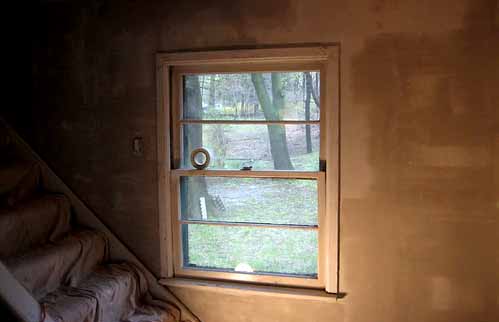
If you have a bad spackle job, then you can certainly see and feel the raised edges. The harsher the light in the room, the more pronounced the flaws in the wall. Step one is to break out that sandpaper and work down the highest spots. For most wall applications, 150 grit sandpaper will be acceptable. You will want to be sure to have a vacuum cleaner handy, as anytime drywall is sanded, even if just a bit, dust is a major issue. Take care as you sand that you don’t get too aggressive and work through the top layer of paper in the drywall. This will create another issue that can be a pain to repair. Once the high spots have been sanded as smooth as is possible without causing additional damage to the wall, we are ready to get busy with the spackling compound.
Application:
The clearest and most important piece of information that you can get out of reading this is that you should not try to complete the repair with just one application. Most likely the reason that you have a bad spackling job in the first place is because someone tried to do just that. Less is more and smearing on as much as possible is not the correct way to complete a spackling job.
The first coat should be applied with a flexible spackling knife. A 3” blade is generally acceptable and the most useful for small interior spackling jobs. Some prefer to use a narrower blade, but the narrower blade can make it more difficult to fan out the spackling compound in later steps, so if you just want to use the same tool for each step, utilize a 3” knife.
Get a reasonable amount of compound on the end of your knife (a blob approximately the size of the end of your thumb) and spread it over the area with even pressure. It is ok at this point if the compound does not fill all of the gaps. Remember, this is a multi-step process. The key at this point is to ensure that the edges are not raised or rough. Use the sharp edge of the blade to cleanly break away the compound from the wall surface, leaving very little to sand. You may repeat this as necessary while the spackling is still wet until you get it right. It takes a bit of practice, but it is not hard and is a skill that is quickly learned.
After that first coat of spackling is on, walk away. Wait until it is completely dry before you touch it again. Once you have determined that the spackling compound is completely dry, break that sandpaper back out and lightly sand the surface. You are not trying to sand anything to a finished surface at this point or to make the spackled area disappear. The goal is to create a fairly smooth surface over which to apply the second coat of spackling. Once you have lightly sanded, you may go ahead and apply the second coat in the same way as the first. This time you will notice that the smaller gaps and discrepancies in the wall surface begin to fill in and blend. On each subsequent coat, you will want to fan the outer edges of the spackling a little further from the center of the damage, thus creating a larger surface area for the thickness of the spackling to be blended into the wall board. This is how you can eliminate the shadows in the finished product.
The Finish:
The 3rd coat, applied in exactly the same way as described above, will in most instances be enough to eliminate the bad spackling job. Once the final coat of spackling has been applied and sanded smooth, it is time to finish preparing the surface for paint. This next step is another that is often overlooked, but in the long run makes a big difference in the final appearance of the repaired area. It is important that you utilize a drywall primer over the patched area. You will want to ensure that every space that was affected with spackling compound is primed. This step eliminates the flashing effect of the spackling through the topcoats of paint. If you forgo the primer, the paint that covers the spackling will often appear to be a different sheen than the rest of the wall.
Once you have applied the primer and it has had a chance to dry and cure, you are finally ready to apply that topcoat of paint and to finish hiding that bad spackling job. One common mistake that homeowners often make is that they just apply the topcoat of paint over the area that was patched and primed. To ensure that the patch and spackle completely blends you will want to paint the entire wall where the patch is located. This will ensure that no brush stroke or roller stipple is visible over the patched area.
Follow these steps and watch a wall full of blemishes and bad spackling turn into a like new surface that you can be proud of. Small touches like this can make a huge difference in the overall feel of your home. While not a huge project, fixing a bad spackle job is something that any homeowner can do to make an immediate impact on the value of their property.


